Custom Analytics Tracking
Use custom analytics tags with social messages on CoSchedule, either alone or with Google Analytics enabled. When Google Analytics is enabled, CoSchedule attaches default UTM parameters automatically, but any custom parameters added will override the default UTM parameters.
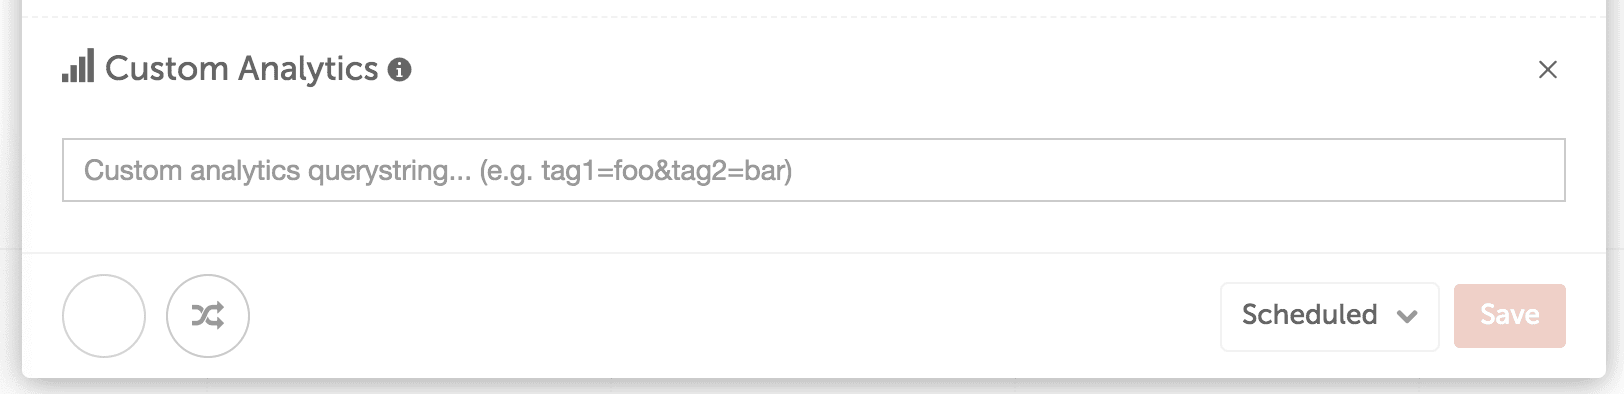
 All parameters will be added to the end of any URL inside of the social message. If you have Bitly connected, your URL and tags will be converted to a short link.
Note: Custom Analytics is available in Content Calendar and Marketing Suite.
Why Would You Want To Use Custom Analytics Tracking With CoSchedule?
CoSchedule has default UTM tags that can be enabled to help you track your marketing efforts. (Read more about them here: Google Analytics With CoSchedule). But if you want to keep closer tabs on your work and track specific campaigns, seasons, and categories, or perhaps include your CoSchedule messages in an existing Google Analytics campaign, you’ll want to enable the Custom Analytics integration. With that in place, you’ll have full control over the UTM tags that are added to your links. Back To TopEnabling Custom Analytics Tracking Tags
- Open Settings
- Under the main Settings tab, click Integrations
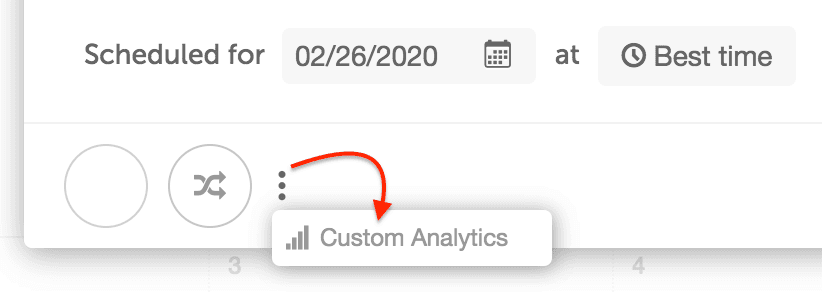
- Find and click Custom Analytics, then click Enable
All parameters will be added to the end of any URL inside of the social message. If you have Bitly connected, your URL and tags will be converted to a short link.
Note: If you have the Google Analytics integration Enabled, CoSchedule will add default UTM parameters to every URL. To override default UTM parameters, insert the UTM type with a new parameter inside the Custom Analytics query.
Back To Top