Working with WordPress Posts
When you first connect your WordPress site to CoSchedule, your calendar will be populated with the published and draft posts you currently have in WordPress. If you have an unscheduled draft, it will appear in your Ideas Bin. You can then choose to create new WordPress posts either inside of CoSchedule or in WordPress and your calendar will automatically sync with your WordPress website.
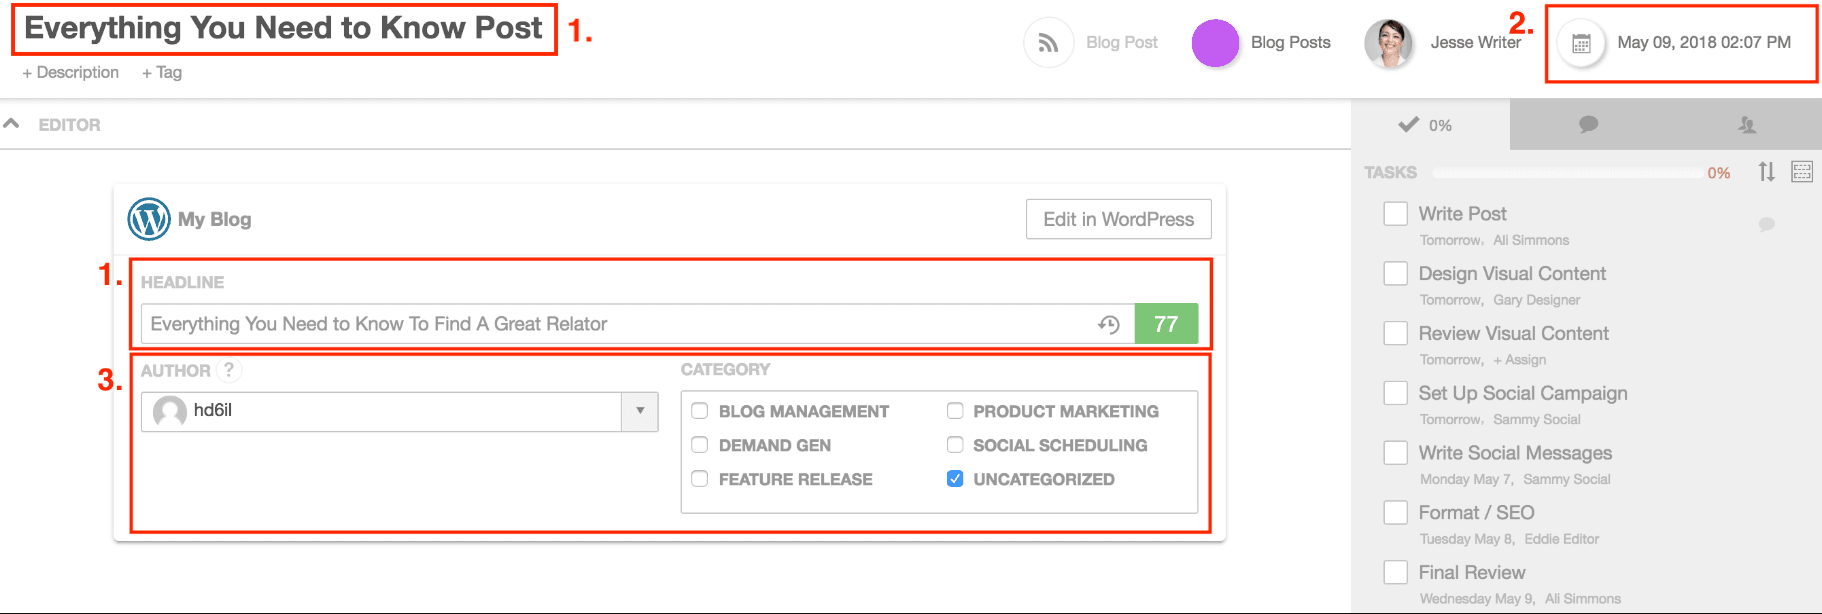 1. Title and Headline: The title of your project will copy into the headline area and act as the title of your WordPress post. If you update either the title or headline it will automatically update the other within CoSchedule. Additionally, the title/headline in CoSchedule will sync over to be the title in WordPress and vice versa. You can use CoSchedule's Headline Analyzer to help you create better headlines. Learn about the Headline Analyzer.
2. Scheduled Date/Time and Status: The scheduled date and time will be directly synced with your WordPress post along with the status of the post (Draft, Pending Review, or Scheduled).
3. WordPress Editor: The actual content of the WordPress post cannot be edited in CoSchedule, but you can choose the Author and Categories.
You can easily access the WordPress admin editor by clicking the Edit in WordPress button.
Back To Top
1. Title and Headline: The title of your project will copy into the headline area and act as the title of your WordPress post. If you update either the title or headline it will automatically update the other within CoSchedule. Additionally, the title/headline in CoSchedule will sync over to be the title in WordPress and vice versa. You can use CoSchedule's Headline Analyzer to help you create better headlines. Learn about the Headline Analyzer.
2. Scheduled Date/Time and Status: The scheduled date and time will be directly synced with your WordPress post along with the status of the post (Draft, Pending Review, or Scheduled).
3. WordPress Editor: The actual content of the WordPress post cannot be edited in CoSchedule, but you can choose the Author and Categories.
You can easily access the WordPress admin editor by clicking the Edit in WordPress button.
Back To Top
 Once the post is live, you will see the full URL and a preview of the title, description, and image associated with that URL added to the Social Campaign preview and the messages scheduled.
 When you begin creating your social message, you will see the {title} and {permalink} social helpers added automatically to your social message.
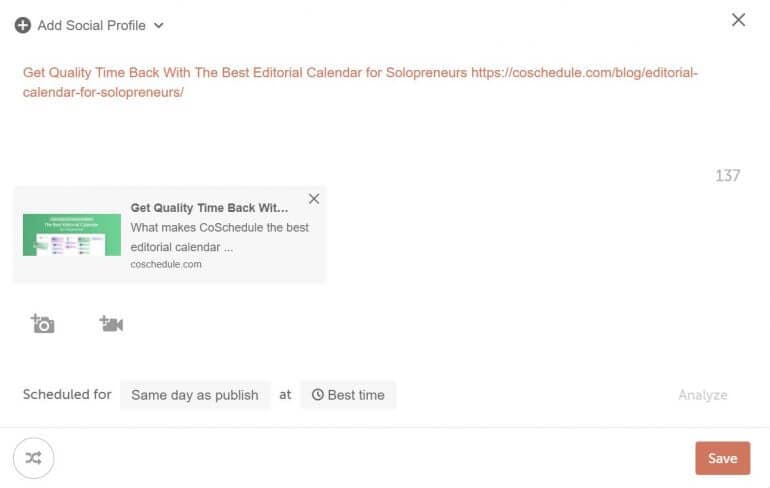 Click
Click  to add more social messages on different days. Be aware that social messages will not publish until the WordPress post reaches the Published state.
Back To Top
to add more social messages on different days. Be aware that social messages will not publish until the WordPress post reaches the Published state.
Back To Top
 Each WordPress Post will have its own:
Discussions
Back To Top
Each WordPress Post will have its own:
Discussions
Back To Top
- Create a New WordPress Post
- Working On Your WordPress Post in CoSchedule
- Schedule Social Messages for WordPress Post
- CoSchedule in the WordPress Admin
Create a New WordPress Post
Create a new WordPress Post from CoSchedule or the WordPress admin, and the post will automatically sync to your calendar. To create a post from inside CoSchedule, click + on the date you want to schedule a new post. Select the WordPress project type.
Working On Your WordPress Post in CoSchedule
When you create a new WordPress Project inside of CoSchedule, certain functions will be directly synced with your WordPress site.
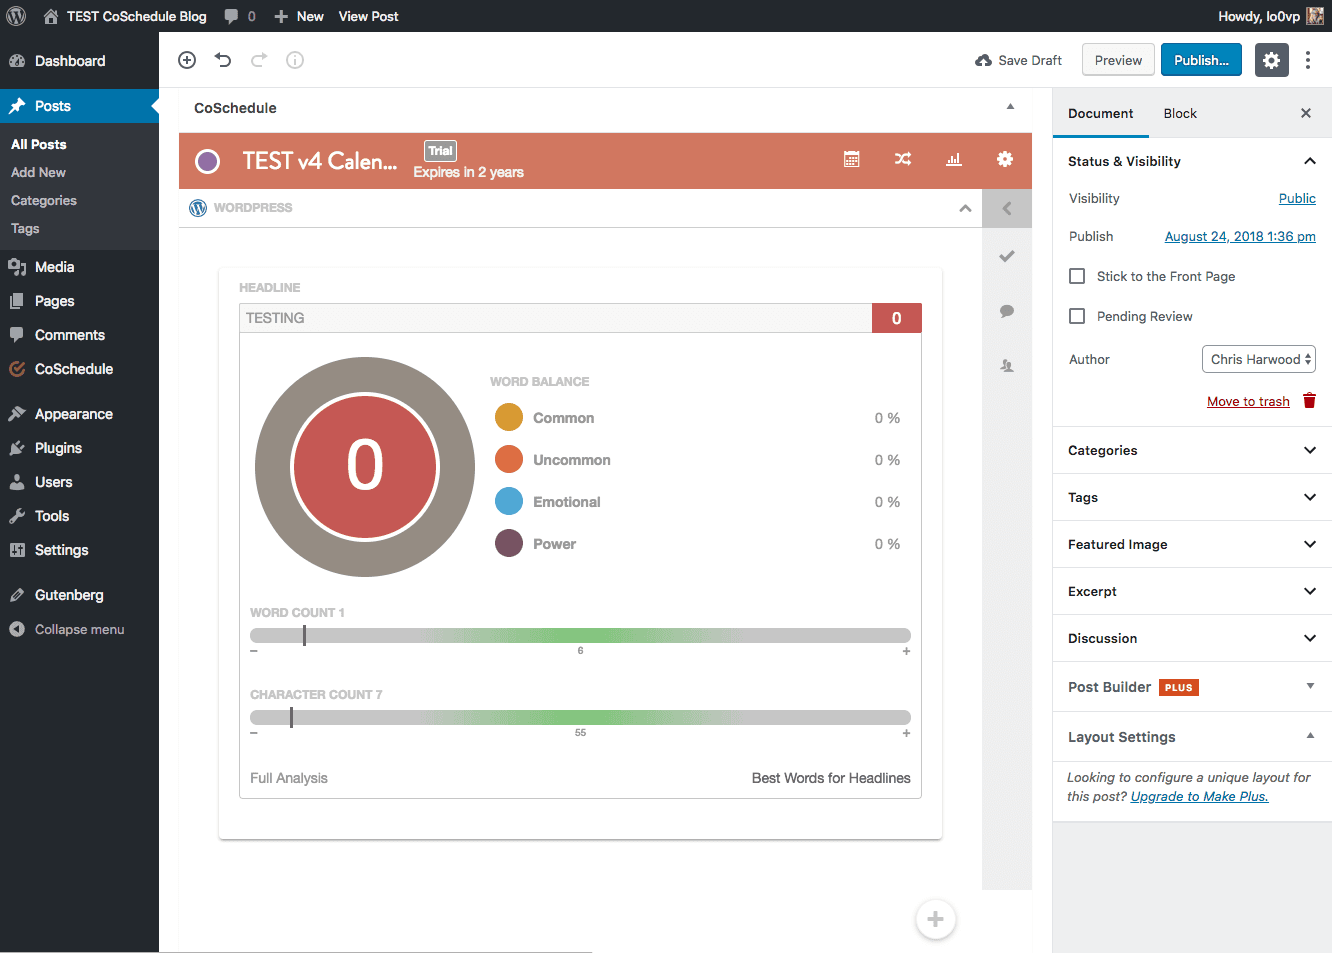
1. Title and Headline: The title of your project will copy into the headline area and act as the title of your WordPress post. If you update either the title or headline it will automatically update the other within CoSchedule. Additionally, the title/headline in CoSchedule will sync over to be the title in WordPress and vice versa. You can use CoSchedule's Headline Analyzer to help you create better headlines. Learn about the Headline Analyzer.
2. Scheduled Date/Time and Status: The scheduled date and time will be directly synced with your WordPress post along with the status of the post (Draft, Pending Review, or Scheduled).
3. WordPress Editor: The actual content of the WordPress post cannot be edited in CoSchedule, but you can choose the Author and Categories.
You can easily access the WordPress admin editor by clicking the Edit in WordPress button.
Back To Top
Schedule Social Messages for any WordPress Post
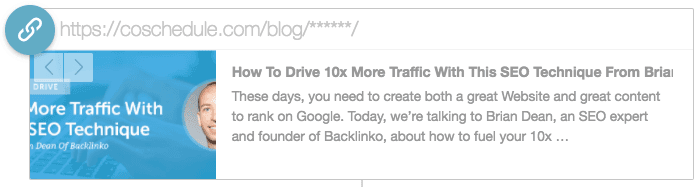
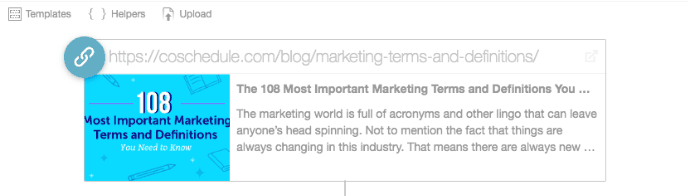
The Social Campaign attachment is added to any previously published, scheduled, or draft WordPress posts. The WordPress Post's URL will automatically be added to the social campaign. For unpublished posts, the Social Campaign will add a placeholder URL to your post. You will also see 'slug' at the end of your URL in social messages connected to the social campaign.
Once the post is live, you will see the full URL and a preview of the title, description, and image associated with that URL added to the Social Campaign preview and the messages scheduled.
When you begin creating your social message, you will see the {title} and {permalink} social helpers added automatically to your social message.
These social helpers (the text in orange) will display the Title and Permalink of the WordPress post. You may remove any of these social helpers and insert your own custom text.
Click CoSchedule in the WordPress Admin
Every WordPress post will have a metabox for CoSchedule. To locate the CoSchedule metabox, scroll down below the editor area of the post.
Each WordPress Post will have its own:
Discussions
Back To Top